post-processing

Post-processing

Removing supports, sanding, and painting your prints.

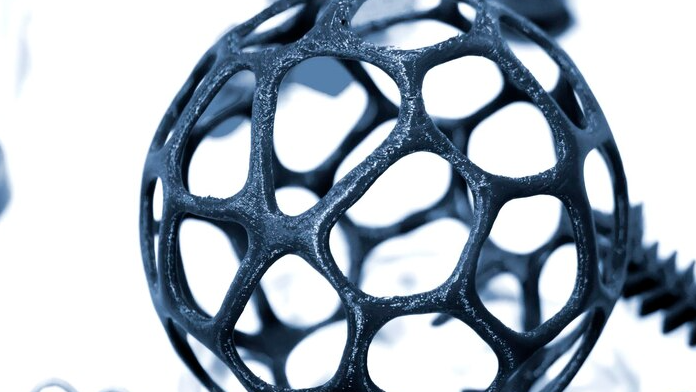
Post-processing is an important step in 3D printing that helps improve the appearance and functionality of your printed parts. Here are some common post-processing techniques:

  1. Removing Supports: Supports are structures added to 3D prints to prevent overhanging parts from sagging or collapsing during the printing process. After printing, the supports need to be removed by carefully cutting or pulling them off the printed part. This can be done using a pair of pliers, tweezers, or a sharp knife. Be sure to remove all the supports carefully without damaging the printed part.
  2. Sanding: Sanding helps smooth out the surface of the printed part, removing any rough edges, bumps, or imperfections left behind by the printing process. It is recommended to use sandpaper with progressively finer grits, starting with a coarse grit (e.g. 100 grit) and gradually moving up to a fine grit (e.g. 800 grit). Sanding can be done manually or with the help of a rotary tool or sanding machine.
  3. Painting: Painting can be done to add color, texture, and protection to your printed parts. Before painting, make sure the surface of the printed part is clean and free of any debris or dust. Apply a primer to the part to help the paint adhere better. Then, apply the desired paint using a brush, spray can, or airbrush. Allow the paint to dry completely before handling the part.

Other post-processing techniques include smoothing with acetone vapor, filling gaps with filler or putty, and polishing with a polishing compound. The choice of post-processing technique will depend on the material used for printing, the desired finish, and the intended use of the printed part.

Getting started with your first 3D printer

Unboxing and setting up your printer.

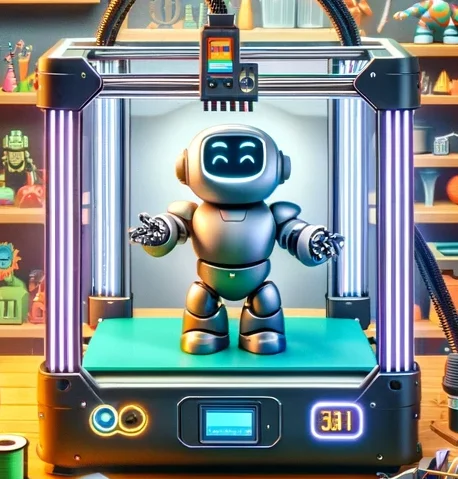
Congratulations on your new 3D printer! Here are some steps to help you get started:

  1. Unboxing and inspecting: Carefully unbox the printer and inspect all the contents to ensure that everything is present and undamaged. Most 3D printers come with a manual, power cord, USB cable, and some sample filaments. Make sure that you have all of these items.
  2. Choose a location: Choose a location where you can set up your printer. Make sure the location is flat and stable, and provides easy access to a power outlet.
  3. Assemble the printer: Follow the manufacturer’s instructions to assemble the printer. This can include attaching the spool holder, leveling the print bed, and installing any extruders or other components.
  4. Connect the printer: Connect the printer to a power outlet and turn it on. Connect the printer to your computer using the USB cable. Some printers may also have a Wi-Fi or Bluetooth option for connecting to a computer or smartphone.
  5. Install software: Install the software that came with your printer or download it from the manufacturer’s website. This software will allow you to control the printer and create 3D models.
  6. Test the printer: Before you start printing, it’s a good idea to do a test print to make sure everything is working correctly. The manufacturer’s instructions should include a test print file that you can use.
  7. Load filament: Load the filament into the printer according to the manufacturer’s instructions. Make sure that the filament is inserted correctly and that there are no tangles or knots.
  8. Start printing: You’re now ready to start printing! Use the 3D modeling software to create or download a 3D model, and then use the printer software to send the model to the printer.

Remember to be patient and take your time when setting up your printer. Don’t be afraid to ask for help if you need it, and always follow the manufacturer’s instructions. With a little practice, you’ll be creating amazing 3D prints in no time!